
Getting Started with Lab Thread

Five simple steps to populate your account and connect your workflow
Step
1

Sign Up

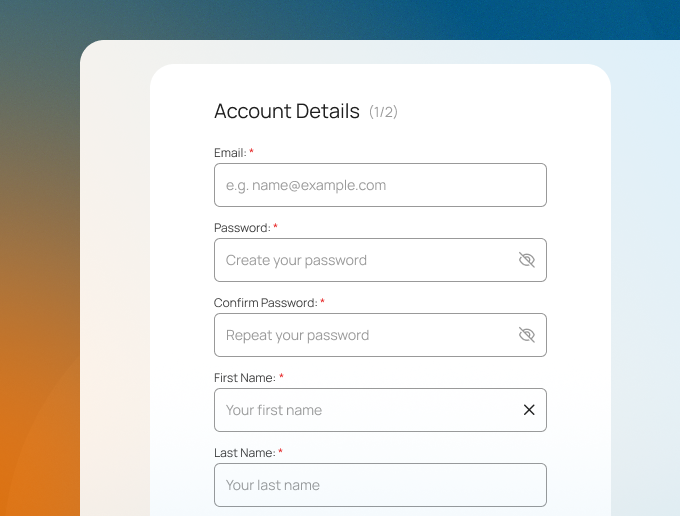
The first step is to sign up for a Lab Thread account and request the number of seats (users) you will need. Only one person from your organisation should do this. Whoever signs up for the account will be the account administrator by default, but you can change this in the settings and add more than one if needed.

If you want to work with a colleague to set up the system, skip ahead to step 5 now, and then come back to step 2.
How to sign up to Lab Thread
Step
3

Create your freezers

Because you want new users to be able to immediately log samples into the right locations, the next step has to be setting up your freezers, making sure that the digital map you create matches their real life properties, with the correct number of shelves, drawers, boxes etc.

How to create a freezer
Step
5

Invite your colleagues and start collaborating

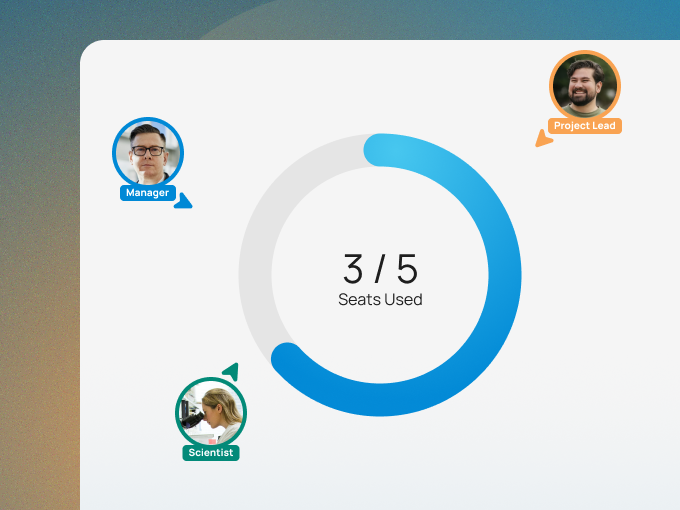
Finally, invite your colleagues to join your Organisation on Lab Thread. Within the app, the status of your project, task or sample is called its state. As you add projects and tasks, or allocate samples, you can update their states, or create custom states for your workflow.

How to add colleagues
Step
1

Sign Up

The first step is to sign up for a Lab Thread account and request the number of seats (users) you will need. Only one person from your organisation should do this. Whoever signs up for the account will be the account administrator by default, but you can change this in the settings and add more than one if needed.

If you want to work with a colleague to set up the system, skip ahead to step 5 now, and then come back to step 2.
How to sign up to Lab Thread
Step
2

Set up your designs

(sample types)
In Lab Thread, the system is built hierarchically as follows:

  • Design Type - A Broad category such as cells or proteins
  • Design Sub-Type - A more narrow category of the Design Type like mammalian cells, or antibody
  • Designs - Actual design entities within the design type or sub-type, such as HEK293 cells and Anti-FLAG antibody.
  • Samples - The samples that exist of the designs. For example, a vial of HEK293 cells and a tube of an Anti-FLAG antibody.

Think of the difference between a design and a sample as the difference between the sequence of an oligo (design) and an actual tube of it (sample). Structuring the data in this way allows you to create one design and have many tubes of it within the inventory, each with different properties but linking to the same design.

Firstly, your account comes pre-populated with commonly used design types to make starting easier, but you should first check these align with your work and have all the types and sub-types you need.

Secondly, the system allows for you to log specific data with each Design and Sample you log. You can check these pre-configured fields and amend them as required for your research. These then standard data fields that you want to capture for each design (eg. length and GC% for plasmids, or subtype, origin and / or passage number for cell lines etc).

How to check design types and add custom fields
Step
3

Create your freezers

Because you want new users to be able to immediately log samples into the right locations, the next step has to be setting up your freezers, making sure that the digital map you create matches their real life properties, with the correct number of shelves, drawers, boxes etc.

How to create a freezer
Step
4

Upload or create ELN Templates

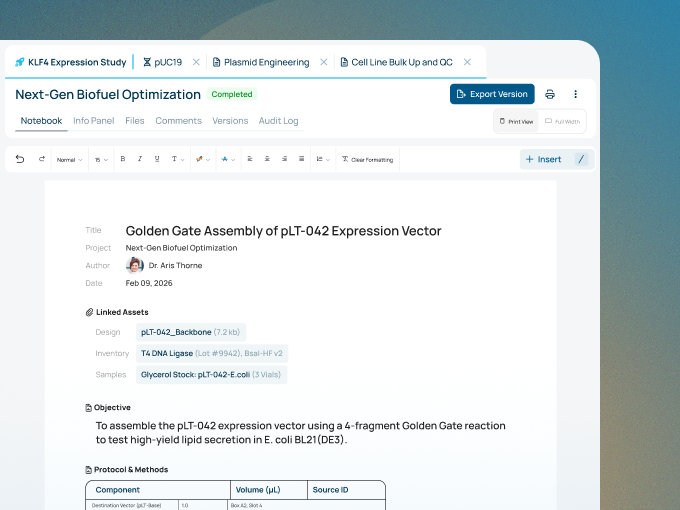
We’ve pre-loaded some ELN templates and section templates so that you don’t have to start your first ELN record from a completely blank page. You can also upload existing documents and spreadsheets to set as templates that your team can start using immediately, or edit our pre-existing templates.


How to create templates
Step
5

Invite your colleagues and start collaborating

Finally, invite your colleagues to join your Organisation on Lab Thread. Within the app, the status of your project, task or sample is called its state. As you add projects and tasks, or allocate samples, you can update their states, or create custom states for your workflow.

How to add colleagues